Loan or Mortgage Payment Setup
Set up a loan or mortgage plan with payment, lender account, balance, APR, and next due date.
Fast answer
For a mortgage plan, enter the loan part of the payment, choose a Lender account where Foreseenly tracks what you owe, then enter the current balance, APR, and next due date. The payment leaves the selected account; the lender account is reduced as the loan is paid down.
If your mortgage payment includes escrow, review Escrow Payments before entering the payment amount.
What each field means
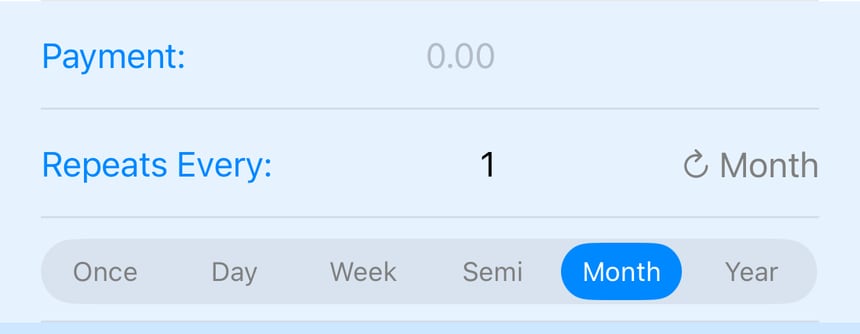
- Payment: Enter the regular loan payment amount. Do not include escrow here.
- Repeats Every: Choose how often the payment happens. Most mortgages use 1 Month.
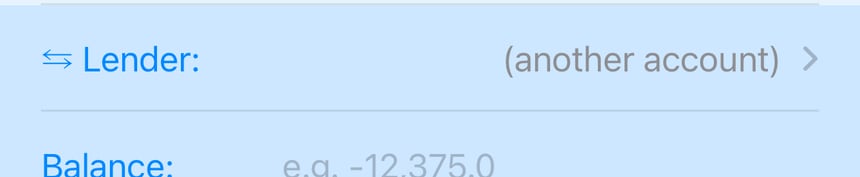
- Lender: Choose or create the lender account that represents what you owe. Foreseenly uses this account to reduce the loan balance and build the amortization forecast.
- Balance: Enter the current principal owed. Debt balances are shown as negative values.
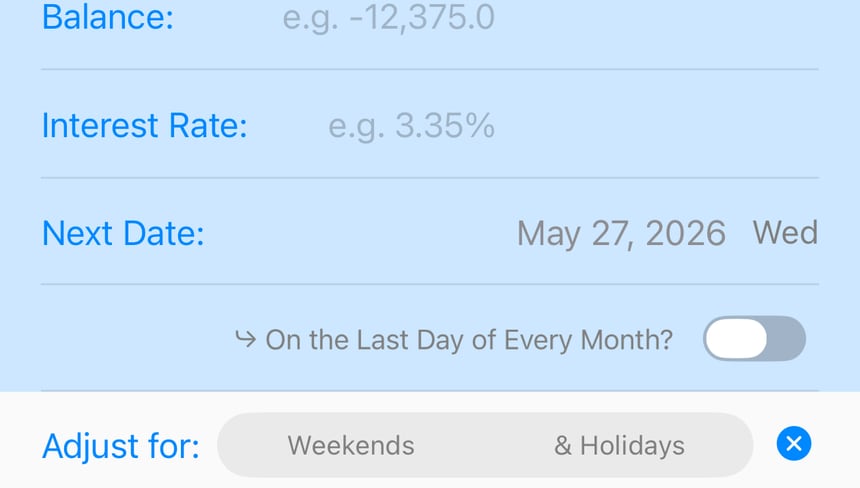
- Interest Rate: Enter the annual rate/APR, such as 4.000 for 4%.
- Next Date: Set the next scheduled payment date.
- Adjust for: Use this if payment dates should move around weekends or holidays.
For most mortgages
- Payment: loan payment only, usually principal + interest.
- Repeats Every: 1 Month.
- Lender: your mortgage lender account in Foreseenly.
- Balance: current principal owed.
- Interest Rate: your mortgage APR.
- Next Date: your next payment due date.
Related tips
- Already have a mortgage payment as an expense? Set an end date on the old expense plan before the next due date, then create the new Loan/Debt Plan from the next payment forward. Since version 1.17.0, you can copy the existing plan first, then adjust the loan fields, schedule, and start date to make this faster.
- Escrow: set it up as a separate expense plan.
- Extra principal: use Making an Extra Loan Payment.
- Property value and net worth: see Net-worth, Assets, Loans & Appreciation.
Need more help? Search this product's help articles, share a product idea, or send a ticket if you still need help.
Was this article helpful?
Your vote helps QApps find articles that need clearer steps or better screenshots.
What was missing?